Invite each person with access that matches their responsibilities. Start from a role preset, then customize only the areas that differ from that role.
Start an invitation
- Open Team Members and choose the option to invite a member.
- Enter the teammate's email address.
- Select the role preset closest to the person's responsibilities.
- Review module permissions and client access before sending the invitation.
- Send the invitation only after the summary matches the access you intend to grant.
The invite flow starts with the Member preset. Review it rather than assuming the default matches every contractor, account manager, finance user, or administrator.
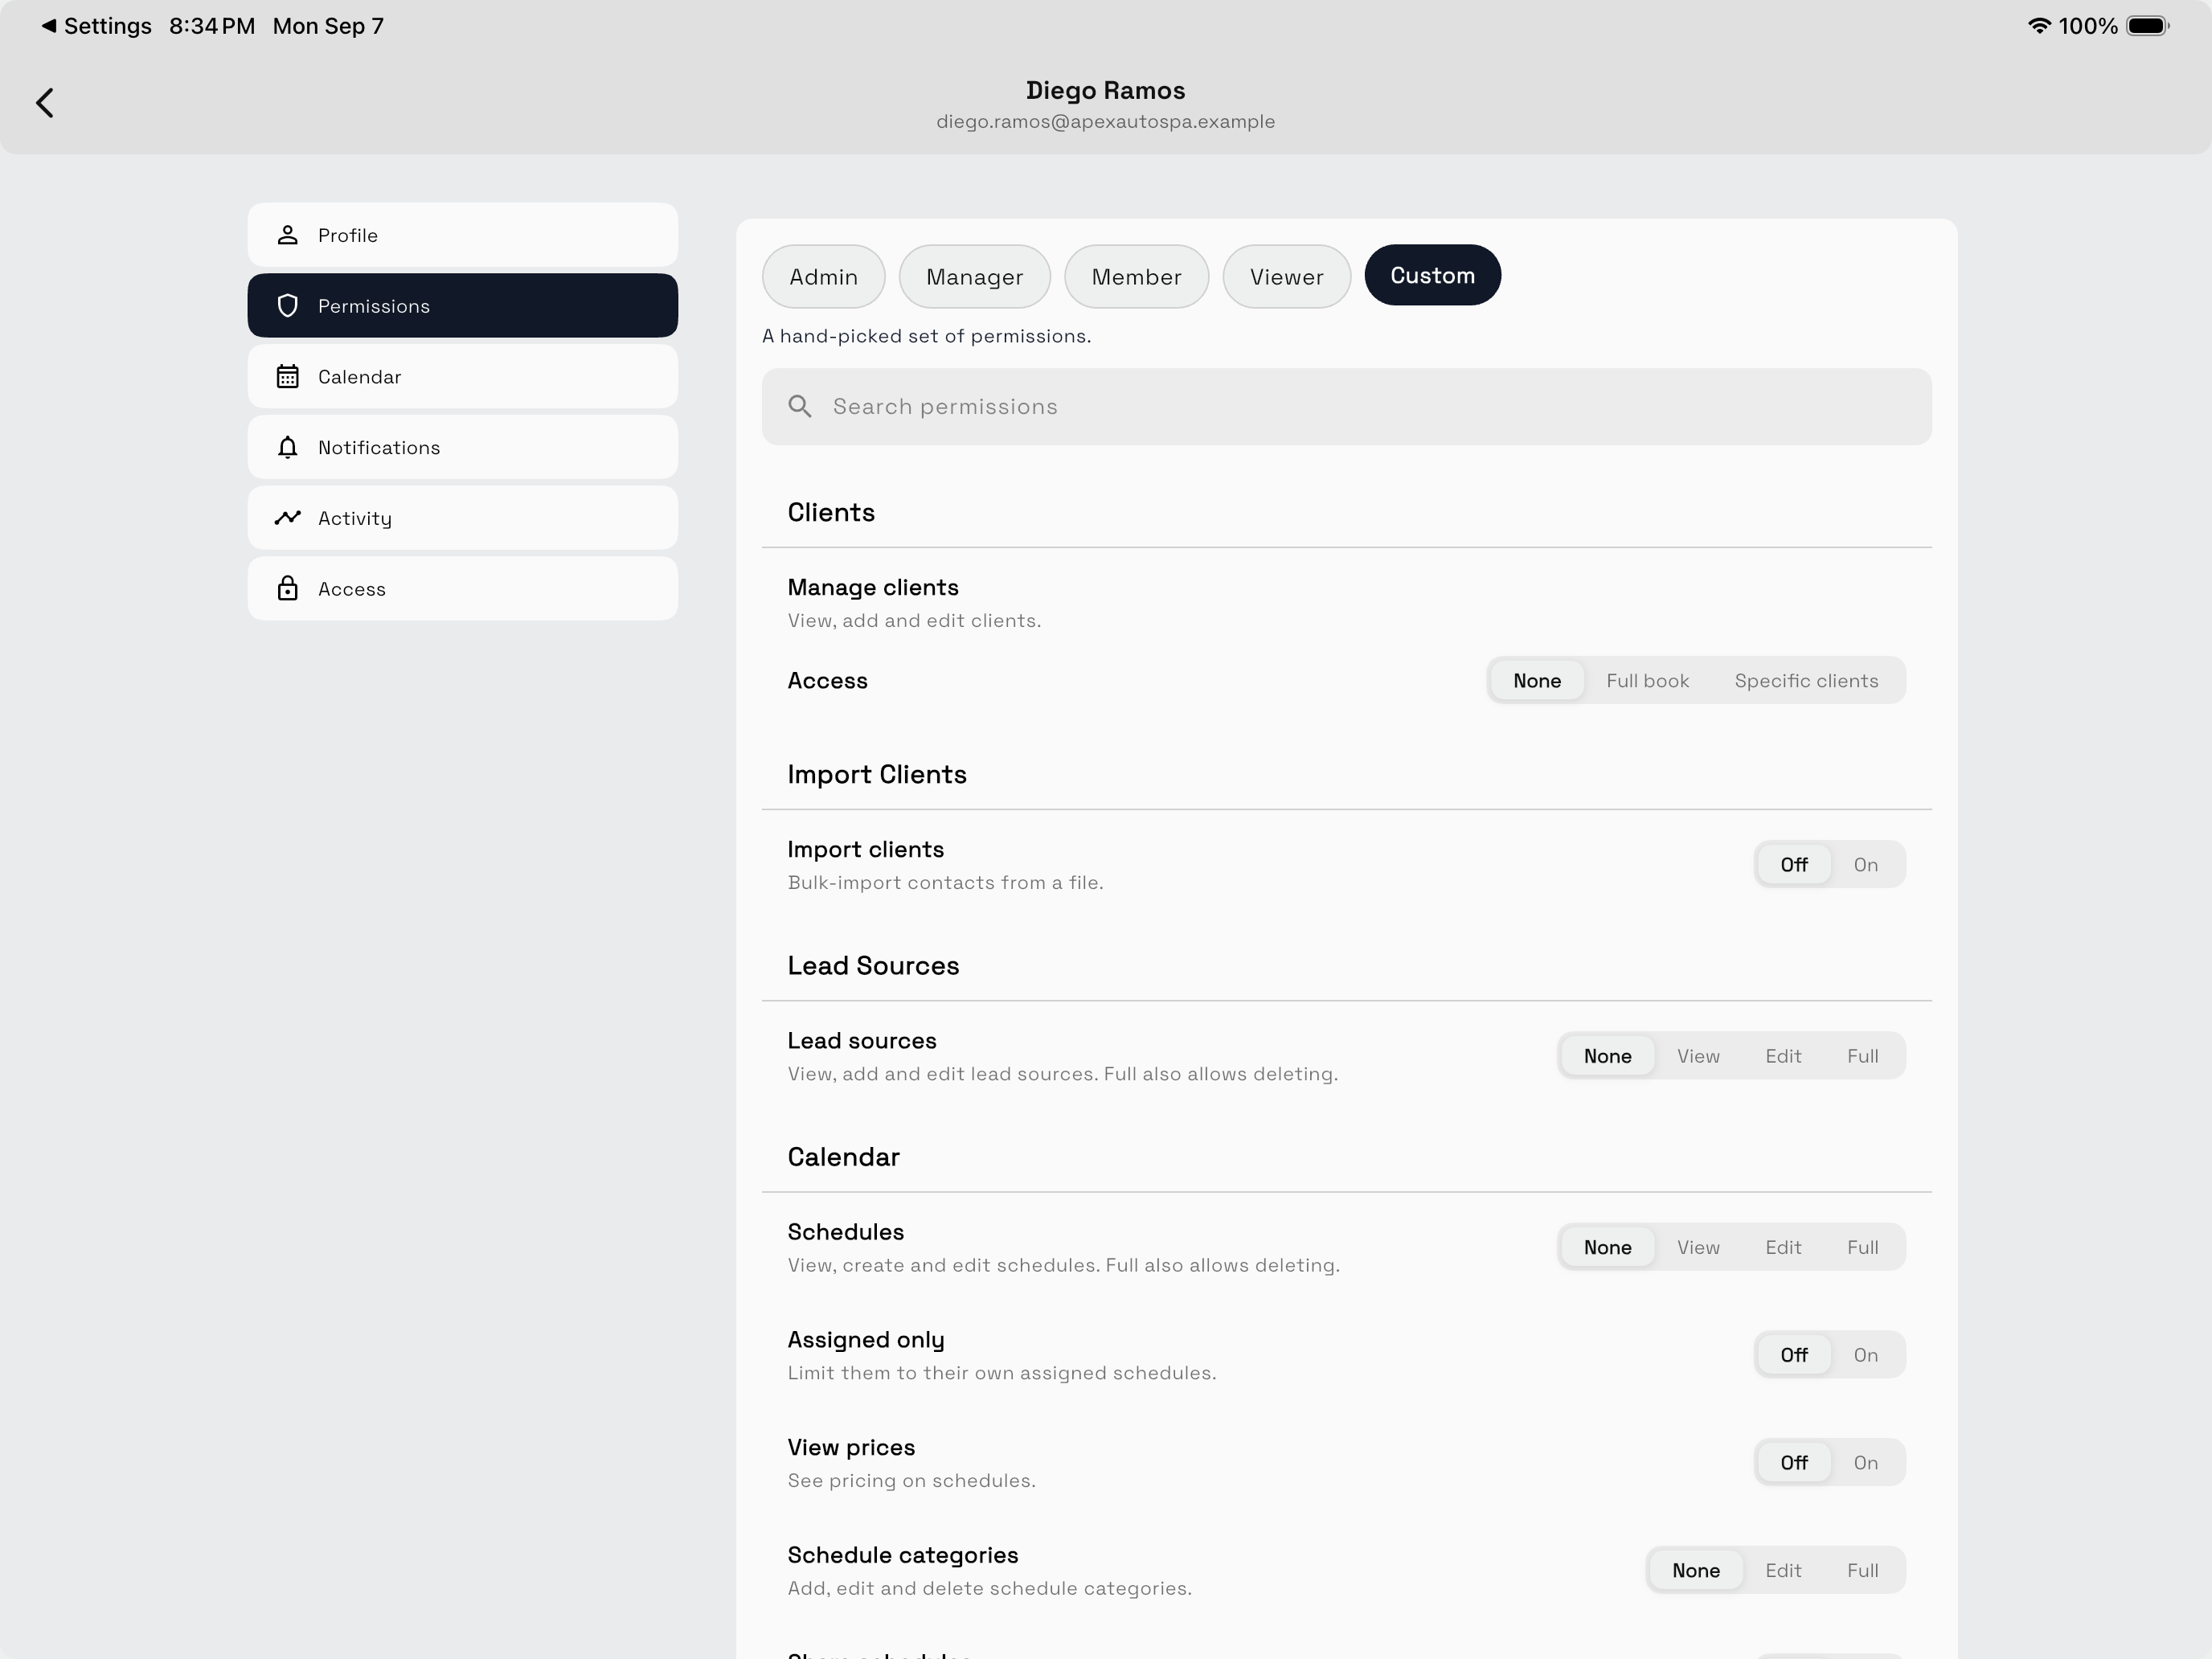
Choose a role preset
Workspace369 provides these starting points:
| Preset | Intended starting access |
|---|---|
| Admin | Full access across the workspace |
| Manager | Full client and communication access, partial accounting, and no team or subscription billing administration |
| Member | Day-to-day view, create, and edit work without delete, accounting, or administration access |
| Viewer | Read-only access across available workspace areas |
Selecting a preset creates the initial permission set. If you change individual permissions, the role can be shown as customized.
Customize module permissions
Open Customize permissions when the selected preset is too broad or too narrow. Review what the member can view, create, edit, delete, send, approve, export, or administer in each relevant area.
Do not grant an entire module because the member needs one action. For example, someone who sends an invoice may not need payment reconciliation, accounting, team administration, or subscription access.
Choose client access
The Clients permission separates which clients the member can access from what they can do with those clients.
Choose one access scope:
| Access | Result |
|---|---|
| None | The member has no client access |
| Full book | The member can access the workspace client book according to the selected capability level |
| Specific clients | The member can access only assigned clients according to the selected capability level |
For Specific clients, choose View or Edit and search for the clients to assign. Scoped members cannot delete clients.
The optional Add clients (auto-assigned to them) permission lets a scoped member create a client and automatically adds that client to their assigned list.
Understand inherited client work
Specific-client access can affect related client work, including projects, tasks, schedules, files, messages, requests, and billing. Review the member's other module permissions as well as the assigned client list.
An assignment does not automatically mean every action in every connected module is permitted.
Send and verify the invitation
Send the invitation after reviewing the role, module permissions, and client scope. Existing Workspace369 users may be added directly; new users receive the invitation flow.
After the member joins, verify the experience with that account in this order:
- The intended clients are visible.
- Unassigned clients cannot be opened.
- Required client work is available.
- Restricted finance and administrative areas stay unavailable.
- Create, edit, send, or approval actions match the role.
Update access later
Review access when responsibilities or client assignments change. Remove old client assignments promptly and suspend or remove access when the person no longer works in the workspace.
Return to Team access and permissions for broader access-planning guidance.